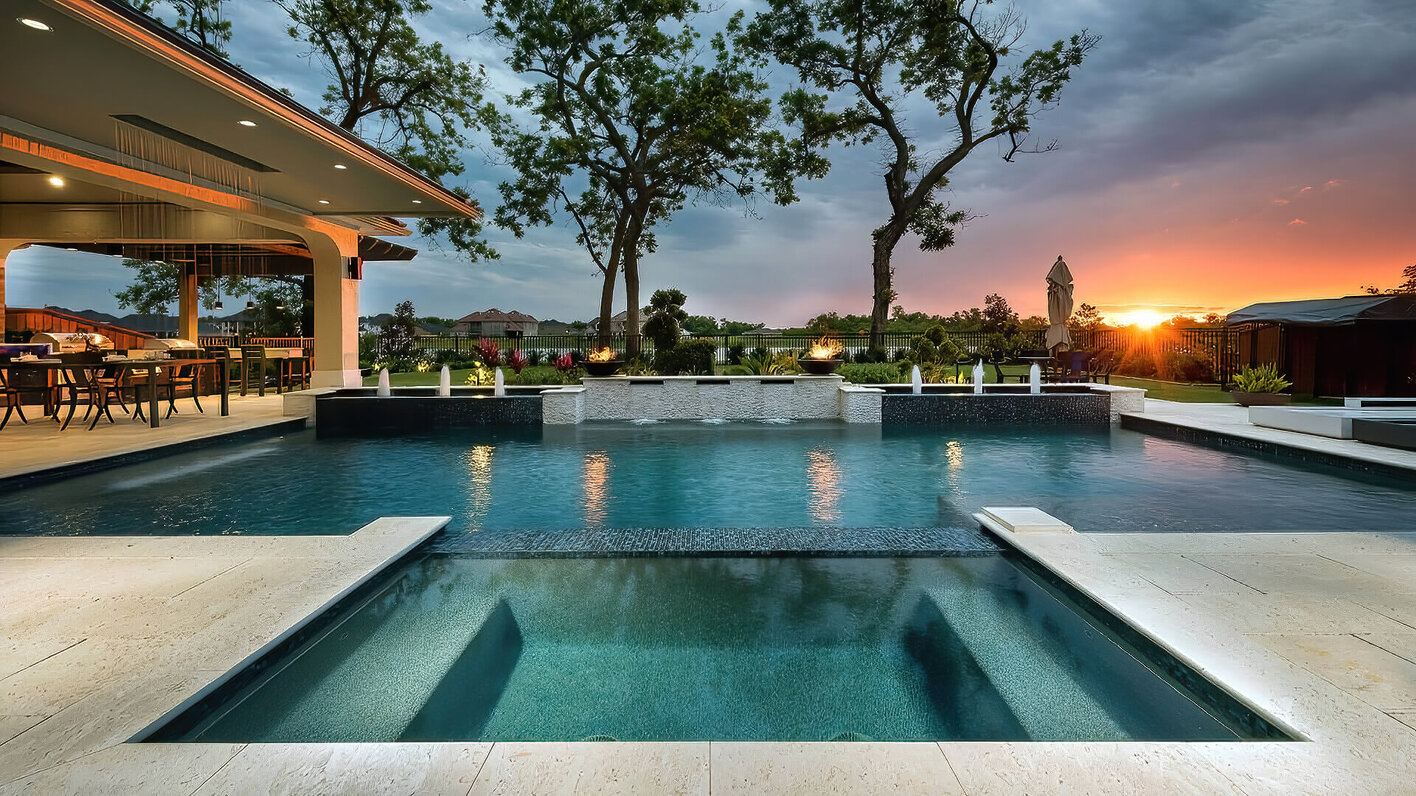
A house with a pool is a luxury we cannot rave enough about!
The weekends will be much more entertaining and your life a little less dull. Now, while the urge to take matters into your hands and go the DIY route might be strong, we are here to warn of the perils this can lead to.

Concrete pool construction is intricate, so it’s best to let experienced professionals handle it. One wrong step and all your efforts go down the drain. Trust us when we tell you that the savings are not worth the risk.
If you are here, installing a swimming pool is already on your mind, but apprehensions about the building process might be a deterrent. But do not worry! We will help you with our complete concrete swimming pool construction guide.
So, with no further delay, let’s dive right into it!
Concrete Swimming Pool Construction Process
Below is a step-by-step guide to constructing your pool. To simplify things further, we’ve followed it with a brief section to help you choose the right builder. Let’s take a look!

Step 1: Inspection
The first step in pool construction is to decide where you want to locate the pool. Often, people choose a flat terrain to minimise excavation costs. Once you select the location, the builder completes a proper site inspection. They do this to get an insight into the landscape, area requirements and limitations.
Besides, they also inspect the plumbing, electrical and structural requirements, as per the guidelines set by the Government. After the inspection, the builder asks you a few questions regarding your budget, design requirements, and construction reasons.
You must advise your list of considerations and be open to new ideas and suggestions. Choose a builder with a prolific work portfolio, and they’ll be able to nudge you in the right direction.
We’d suggest you opt for a design that blends with your house and is minimalist for easy maintenance.
Step 2: Paperwork
Once the inspection is complete, the engineer will make a formal proposal. They will organise all the paperwork, including the design requirements, budget, scope, concrete laying plans, and rough sketches. The builder will then submit the proposal to the Local Council for approval for a Development Application (DA) and a Construction Certificate.
Only a licensed engineer should draft the plan as per the Local Council regulations. They should include their name, the company they’re associated with, and necessary ID proof in the contract. This detailed and time-consuming process can take anywhere between 3 to 4 weeks.
Lastly, the builder should neatly present all the sketches, plans, permission requirements, etc., to the Council for quick approval.
Step 3: Excavation
Once you receive the required approval, it’s time to prepare the area for excavation. However, we recommend letting a surveyor do this task for you, as they’ll mark out the perimeter with the utmost consideration using wooden shafts.
The excavator then uses earth-removing equipment such as a backhoe or trencher to dig the pool. They pay special attention to making precise, straight cuts as per the original design plan.
If the area is rugged or waterlogged, there might be additional requirements. So, remember to ask your builder about the same when inspecting the area to avoid unexpected costs later.
Usually, the excavation process takes a maximum of three days. However, it largely depends on the weather, type of ground and ease of access. The workers then remove the excavated material from the area.
Step 4: Steel Fixing
After the excavation is complete, the next step is fixing the steel. The fixers make a criss-cross steel design around the excavated area. This cage-like structure also covers the pool steps, ledges, and other original design features. This aims to enhance the pool’s structural integrity and allow the smooth laying of the concrete.
Once the steel reinforcement is in place, it’s time to pre-plumb the interior. Professional plumbers fit the required pipelines, drainage, electricity, and lights. They then cap these lines to prevent the construction material from entering the pipes and damaging them.
Besides, they connect the pipes to the filter system and main water line. However, the pipes can run only during the entire swimming pool construction.
Steel fixing doesn’t take longer than two days to finish. However, remember not to let kids or pets near the pool during this time, as the exposed steel can be pretty sharp and lead to accidents.
Step 5: Pouring Concrete
The next step is pouring concrete; there are two ways of doing so — shotcrete and concrete formworks.
Spraying concrete through shotcreting is the most commonly followed method. A mixture of rock, sand and cement is poured or ‘shot’ using a high-pressure hose onto the steel reinforcement frame.
Generally, the thicker the concrete layer of the pool walls and base is, the more durable the structure is. Thinner layers may be vulnerable to fissures and cracks.
Once the concrete has been sprayed, a ‘curing’ period is observed to enhance the pool’s structural integrity and prevent any possible cracking. You must keep the pool shell moist and lightly spray water over it at least twice daily for two weeks.
Step 6: Finishing The Pool Interior
By now, you should see your dream project coming to life!
Once the concrete shell has cured completely, the workers must meticulously remove any debris, twigs, or leaves in it. Then, with the help of a shovel, they scrape the surface to remove any unevenness or sharp protruding parts.
With the help of a sealing agent, the pipes and drains are made waterproof. Usually, popular waterproofing choices include tiles, ceramic or pebblecrete.
The builders do this before applying the interior finish to make the pool watertight. The first step is evenly spread the adhesive over the cured concrete surface. This is followed by spraying the waterproofing membrane of your choice.
After that, they use a trowel to smooth out the exterior and quickly wash it to bring out the finished surface. Then, it is left to dry for a few days.
Lastly, the pool surface is acid-washed to remove any residual adhesive before giving it a final polish.
Step 7: Coping And Landscaping
The next step is to lay the coping material and waterline tiles. As a novice, you might not be familiar with these terms, so here’s a quick overview. Coping is the capping that you install around the pool edge. It forms a barrier between the concrete pool shell and the surface.
This capping material can be concrete, tiles, stone, or marble. Any pool owner will tell you about the importance of Installing a capping like this. However, it doesn’t have to look dull. You can experiment with various tile options and choose one that adds to the pool’s aesthetic appeal.
Ideally, coping can take a few days or a few weeks, depending on the pool size and the tiles selected. If done right, you’ll have a non-pervious and highly durable surface.

Now, we come to the waterline tile. Experienced technicians install them around the pool’s perimeter to give the area a luminous look and reduce the chances of calcium buildup. Also, it prevents pollen and other materials that go into the pool from creating a white line around it and permanently damaging the surface.
After installing coping and waterline tile, the builders install any water features you might’ve specified. These include jets, wall sprays, fountains, etc. Also, if you have opted for a landscape design, this will begin to happen at this stage.
Step 8: Check Plumbing Lines
Now, it’s time to install certain pieces of equipment that’ll make your overall swimming experience more delightful. However, before that, the technicians will check all plumbing lines to ensure no damage during construction.
There are a few essential devices that your pool cannot do without. A robust, water-saving pump, pool filters and saltwater chlorinator are a few. Some pool owners also like other fancy devices such as heating lines, wireless remote controls and spa equipment. Whatever you want, convey it to the builder before they begin the work.
Here’s some sound advice that’ll serve you well: never compromise on the quality of the pool products. Although durable equipment may initially increase your overall cost and prove to be quite a pocket-pinch, they’ll last a very long time. Thus, it’ll prove to be quite economical in the long run, with lower repair and maintenance costs.
Step 9: Handover
The construction process is complete, and the pool is ready to be your new playground!
Once the technician conducts a quick run-through of the entire system to ensure it’s fully operational, they’ll help you understand all the details of maintaining the pool. This includes explaining all the features, addressing any queries, and explaining periodic upkeep, cleaning and maintenance requirements.
It would help to scrutinise the pool in the weeks following the handover. If you notice any stains or chipped surfaces, contact the builder immediately.
How To Find The Right Pool Builder?
Pool construction is an expensive investment. Therefore, hiring the right builder is paramount to getting a sparkling and durable pool.
Given below are a few tips on finding the perfect builder. So, let’s take a look.

Tip 1: Verify Their Credentials
The first step would be to verify your builder’s credentials, check the company they’re associated with and look up the company online. Inquire about their work experience and how many concrete pools they’ve installed on average.
Ask for their certifications and licensing rights at the very outset to avoid confusion or disputes later.
Tip 2: Assess Work Portfolio
You don’t want an inexperienced builder on the job. Therefore, it becomes essential to look into their work portfolio and determine whether they can handle the task at hand. You can ask relevant questions like how they take payments, how long the construction takes, etc.
Besides you can also ask for referrals and contact people whose swimming pools the builder has built in the last few years for honest feedback.
Tip 3: Ask About Insurance
Usually, a renowned company will not compromise on worker safety. So, the best way to know that you’re dealing with professionals is by asking whether the workers have adequate insurance. You can even ask to see a copy of their insurance papers. Builders and subcontractors are covered under Liability Insurance or Worker’s Compensation.
This step is also essential to protect yourself from a messy legal battle in unfortunate accidents.
Tip 4: Warranty Services
While looking for a pool builder, always ask about the insurance and after-construction services. You don’t want to work with a company that doesn’t provide a workmanship warranty. Without it, you’ll have to bear the expenses of defective installation, plumbing leaks, chipped surfaces, etc.
Usually, most companies offer a one-year warranty. However, most of the problems prop up after that period. So, look for builders who provide long-term warranty coverage.
Other Considerations for Your Concrete Inground Pool
When planning a concrete inground pool build, there are several other factors to research in addition to the construction process.
- Pool Size and Shape - Decide how big you want your pool to be based on your budget and property space. Common shapes are freeform, oval or rectangle.
- Filtering and Sanitation - To stay clean, a pool requires filtration and water treatment. A pump, sand filter, and chemical controller work together for this.
- Heating Options - Consider installing gas heaters or heat pumps in the pool walls during construction for year-round use.
- Safety Features - All pools should have fencing, alarms, and covers to prevent unintended access for safety. Diving boards may also be an option.
- Decking and Landscaping - Complement your oasis with a suitable deck, pavers and poolside landscaping like trees and plants.
- Maintenance Requirements - Expect to test water chemistry, scrub surfaces, and backwash filters regularly to sustain water clarity. Professional cleanings also help.
- Budget Thoughtfully - Get quotes specifying materials, permits and warranties to understand total costs beyond just excavation/construction. Factor in equipment and upkeep expenses too.
- Hiring the Experts - Only an experienced pool builder can ensure your concrete pool project meets codes and lasts for generations of enjoyment with proper foundations and waterproofing.
Constructing Your New Pool
With that, we come to the end of this guide. We hope we’ve simplified the swimming pool construction for you and answered all possible queries.
Selecting the location and the right pool builder is only the first step in the construction process. After that, you will have to choose the tiling material and the features you wish to incorporate into the pool and finance the construction.
While a builder can help you build the pool of your dreams, a home equity loan can help pay for it! Remember that this construction will also add to the value of your property. So, make a solid investment to reap benefits in the long run.
That’s all the time we have for you today. Are you ready to construct your concrete swimming pool? Contact us! We are Sydney’s leading pool builders and want to help make your dreams come true!
Till then, stay safe and happy swimming!


