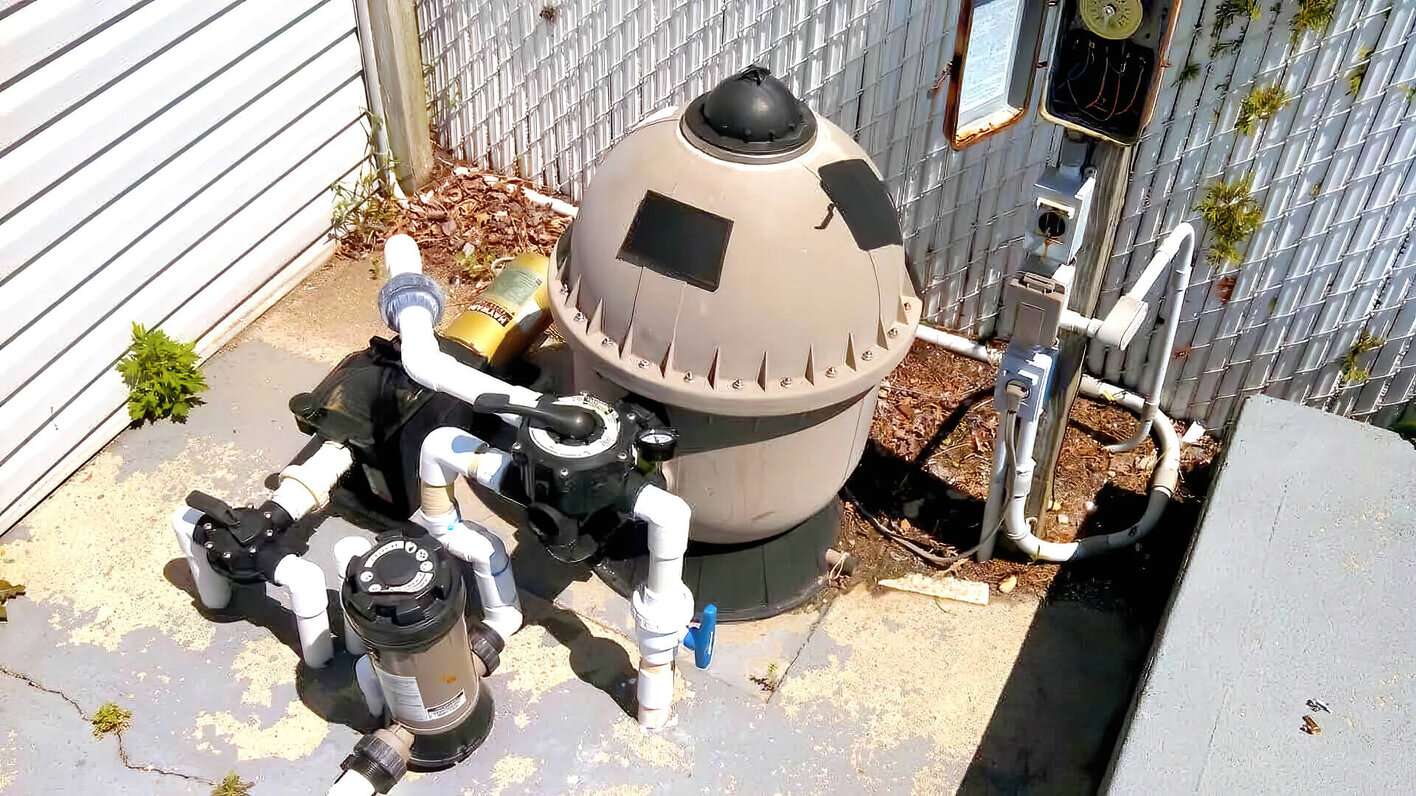
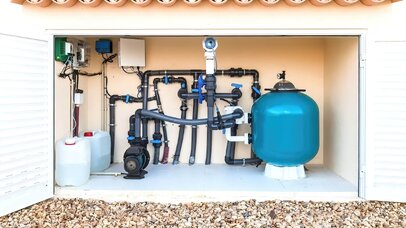
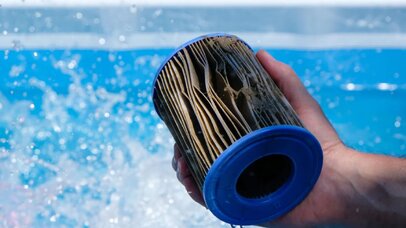
Do you remember the last time you cleaned your pool filter? If not, it may be time to start cleaning it more often.
We understand — no one enjoys cleaning nasty pool filters because it can be annoying and time-consuming. However, avoiding this integral task can end up costing you a lot in terms of repairs and maintenance later on.
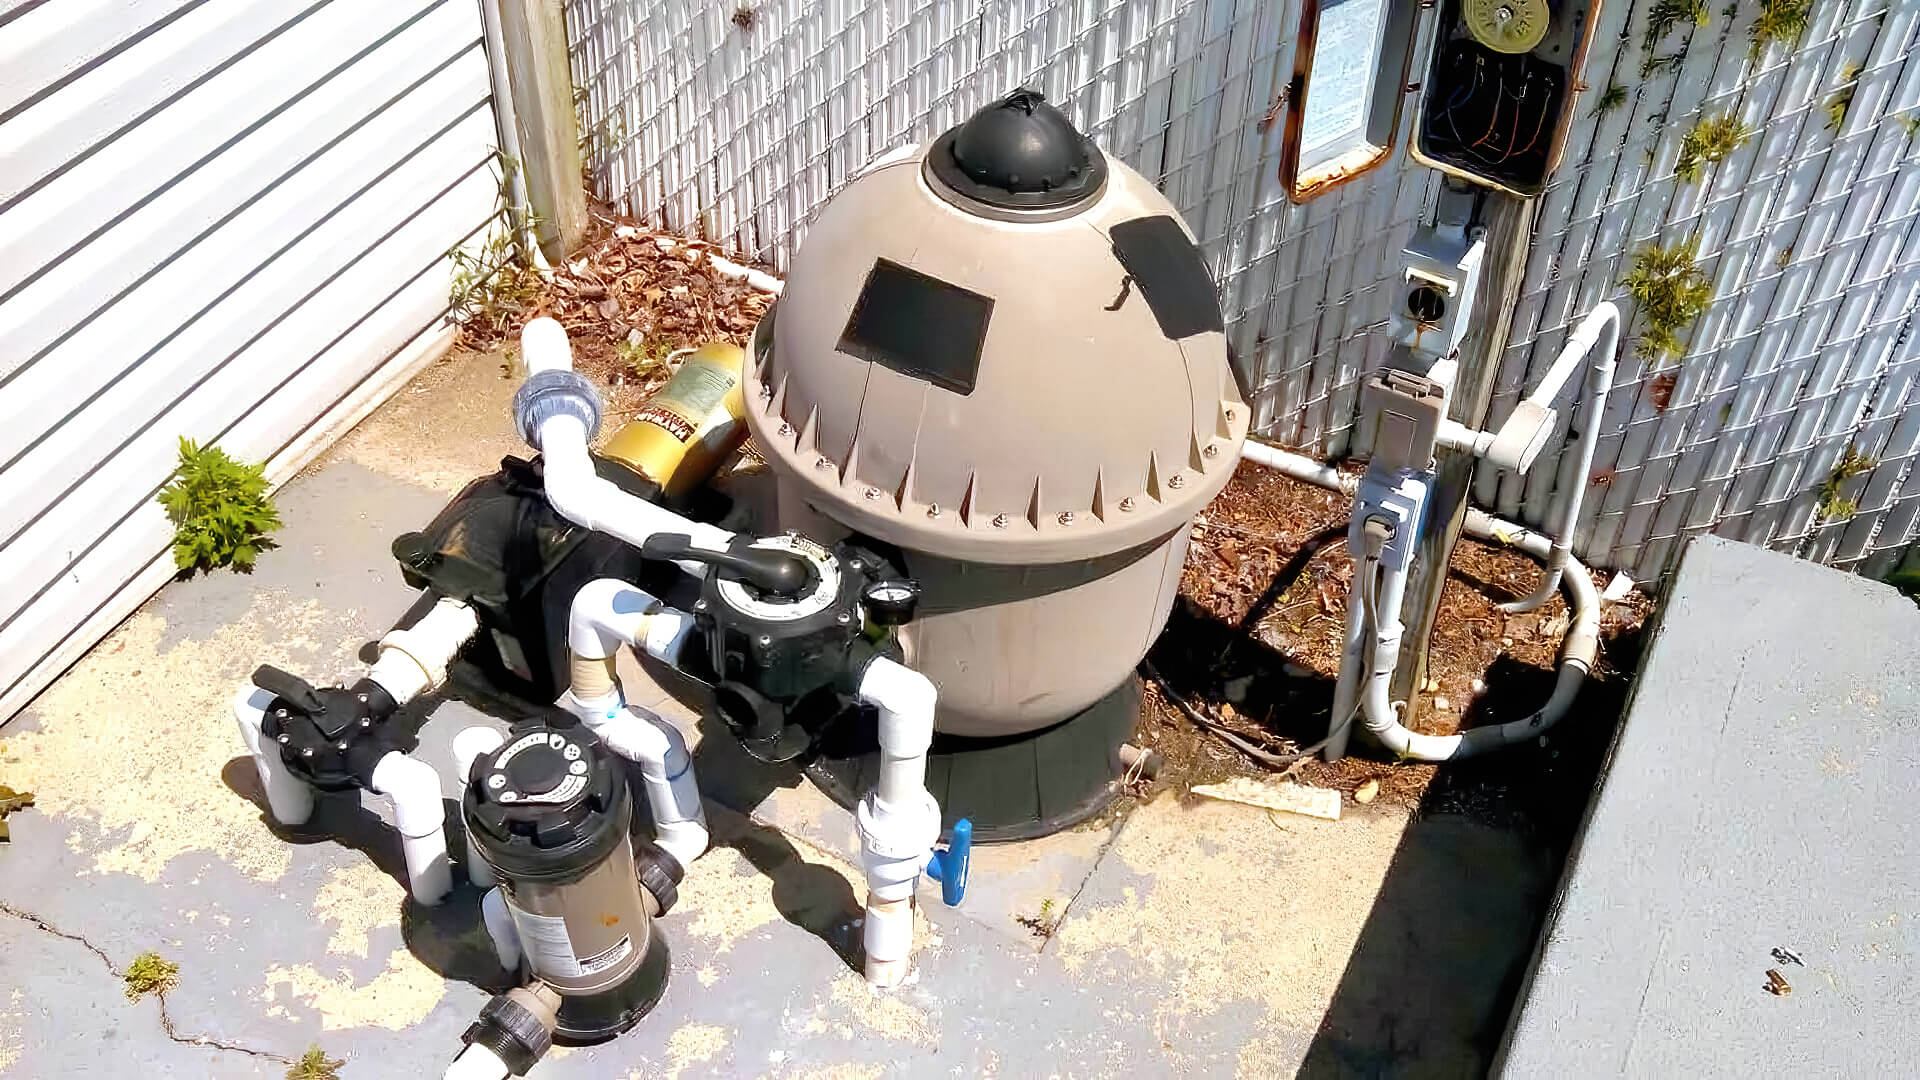
Cleaning your pool filter does much more than merely keeping your pool clean. It is a vital process to prevent the growth of algae and bacteria and filter out contaminants, debris and bugs. Furthermore, a clean pool filter ensures that people using the pool aren’t susceptible to germs and disease-carrying bacteria.
This guide will tell you everything you need to know about cleaning your pool filter. We will also share some tips you can use to maintain it and increase the lifespan of your pool. We have guides on adding chlorine to your pool, cleaning a green pool and even a guide to pool cleaning chemicals.
So, without further ado, let’s get straight to the deets!
How To Clean Pool Filter
Cleaning your pool filter regularly can effectively remove bacteria, contaminants, harmful dirt, oils and bugs. Moreover, it can save you money in the long run. But how often are you supposed to clean a pool filter? Let’s find out.
How Often Should You Clean The Pool Filter?
Ideally, you should clean the pool filter once every six months. However, the frequency may vary depending on the pool filter you have, the environment, and how often people use the pool.
1. If You Use Sand Filters
These filters require more periodic and timely cleaning for proper maintenance. If you have sand filters in your pool, ensure you do weekly backwashing. Moreover, applying a unique, seasonal filter cleaner at the start of every season change is recommended.
Finally, you must perform a complete professional (or DIY) cleaning and inspection of your pool annually.
2. If You Use DE (Diatomaceous Earth) Filters
These filters require slightly more care and maintenance. While annual inspection and cleaning are always recommended, you must also clean the filters with special cleaning products every season. Doing so will ensure the longevity of the pool filter and keep your pool clean.
3. If You Use Pool Filter Cartridges
Fortunately, when it comes to cartridge filters, you don’t need to spend time guessing when it’s time for the next cleaning session. Check out the cartridge filters gauge — this should tell you everything you need to know about the filter’s health and the pool.
Depending on the size of the pool filter, how often the pool is used, and other environmental factors, you might need to clean it weekly, monthly or once in six months. Although these filters don’t require backwashing, they need to be disassembled each time for proper cleaning.
How To Clean A Pool Filter
What You’ll Need:
- Trisodium Phosphate (TSP) powder (or ordinary dishwashing detergent)
- Muriatic Acid or Hydrochloric Acid
- A plastic trash can
- Silicone paste
- Rag, cloth or paper towels
- A rubber mallet
- 3/8” drive ratchet
- 3/8” drive torque wrench
- 19mm or 3/4” socket
- Nitrile gloves
- Safety goggles
- Measuring cup
The Cleaning Process
Step 1 — Check The Pool Filter Gauge
Over time, it is natural for chemicals and debris to build up inside a pool filter. As the filter is continually working to trap and remove oils, dirt, bacteria, and small particles from the pool, the trapped debris ends up clogging the filter.
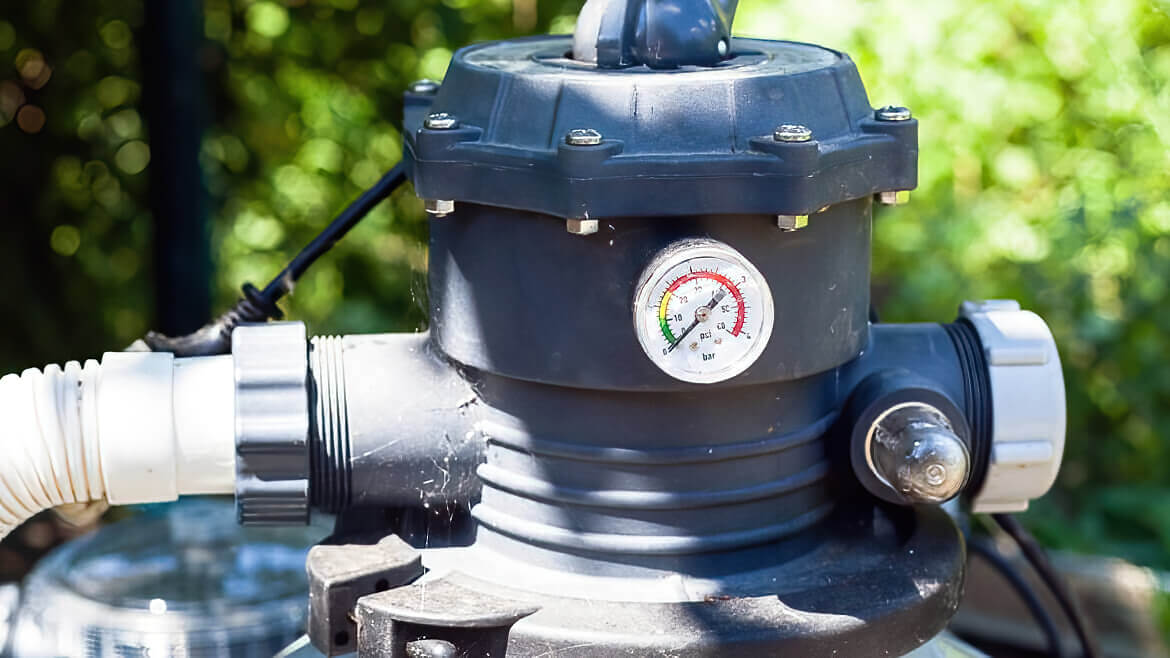
As the filter gets clogged, it stops functioning optimally, creating a dirty, slow-filtering pool. As you can imagine, swimming in a dirty, contaminated pool can lead to numerous diseases that may turn out to be hazardous.
So, it is essential to note the pressure gauge when you initially install the clean filter. On your next reading, if the pressure gauge reads 8 to 10 PSI over the initial reading, it tells you that it’s time to clean it. Two arrows pointing towards the pressure gauge should say to you when it’s time for the next cleaning session.
Other Factors
Certain external factors may cause your pool filter to become dirty or clogged quicker than usual. If the pool cartridge filter is undersized, it will have a smaller capacity, and thus, become dirty quicker. Environmental factors may also determine how soon the filter gets dirty.
Step 2 — Opening Up the Filter Housing
The next step is the most crucial bit — begin by turning off all the inlet and outlet valves and turning off the pump. Using the socket and ratchet, remove the bolt that holds the clamp together. You may use a 19mm or 3/4” socket for this job.
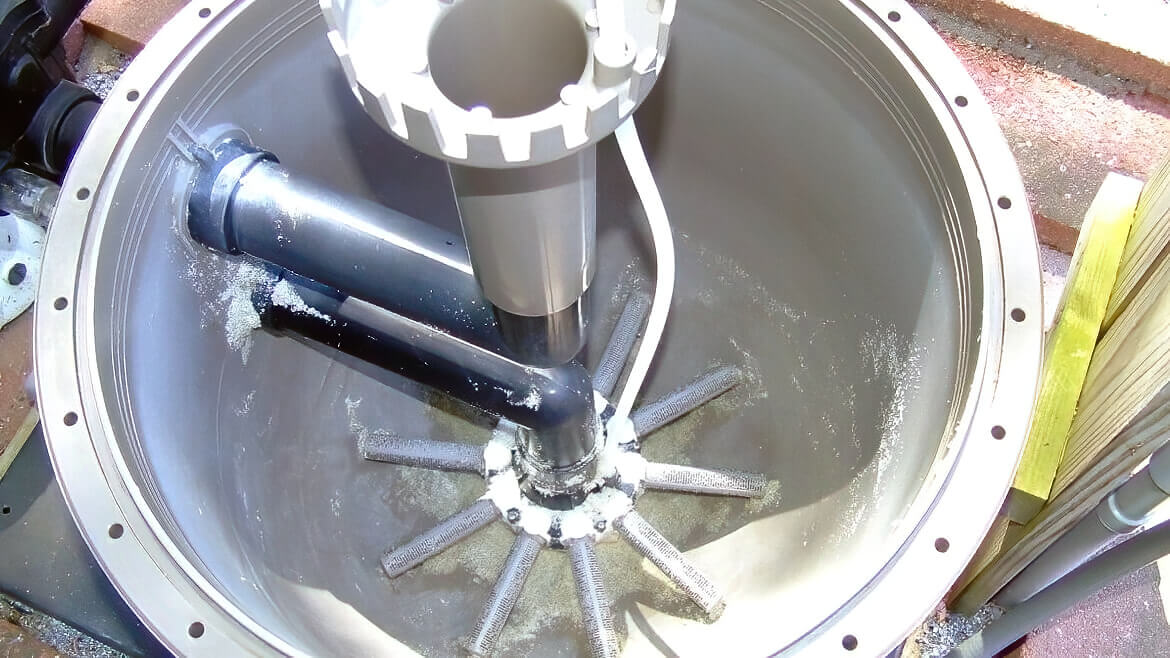
Now, take the rubber mallet and loosen the clamp. Once it is loose enough, you can easily remove the top housing, revealing the filters.
Keep in mind that water will automatically fall when you open the housing (which may be avoided by taking specific steps). To prevent this, open the breather valve at the top to avoid a vacuum. You may also choose to drain the filter housing before beginning.
If you face some tension while trying to pull out the filters, apply a gentle rocking motion while lifting the filters; this should dislodge them more easily.
Step 3 — Flushing The Filters With Water
Immediately after removing the filters, you should have your garden hose ready to rinse them. Do not use a pressure washer for this step, as it applies an unnecessary force that eventually damages the filter.
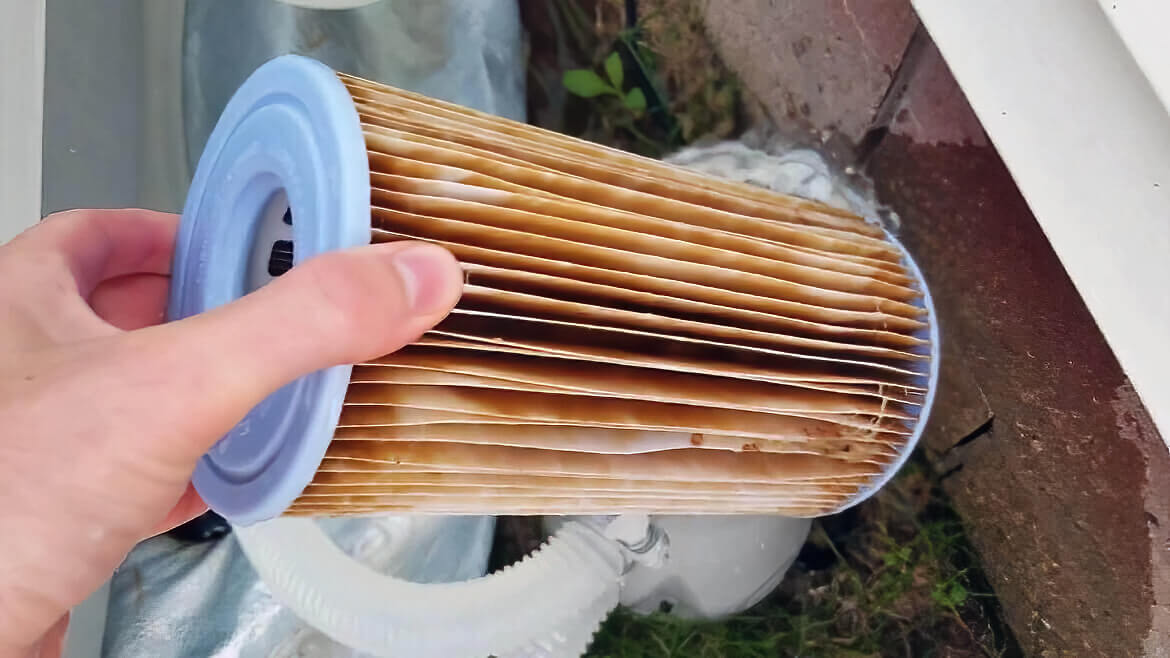
Hold the garden spray at a 45-degree angle to avoid damaging the filter’s pleats. Spray between the pleats to flush any stuck debris, dirt, grime and other residues out. Also, you can opt for a fine brush to reach between the pleats and remove any crust or debris.
That said, it is important to pick the right spot where you can flush out the filters without creating a huge mess that you’ll need to clean up later. We recommend doing this on the grass, as most of the crud is just leaves, fibre and silt, non-toxic. This crud won’t cause any harm when mixed with grass, and it also simplifies subsequent clean-up.
Step 4 — Soak In TSP Solution
This is the step where you will finally use the plastic trash can and TSP solution. Fill the plastic bucket or trash can with water to make the solution. Add 1 tsp. TSP per gallon of water, then submerge the filters in this solution for a couple of hours. If possible, soak the filters overnight in this solution for the best results.
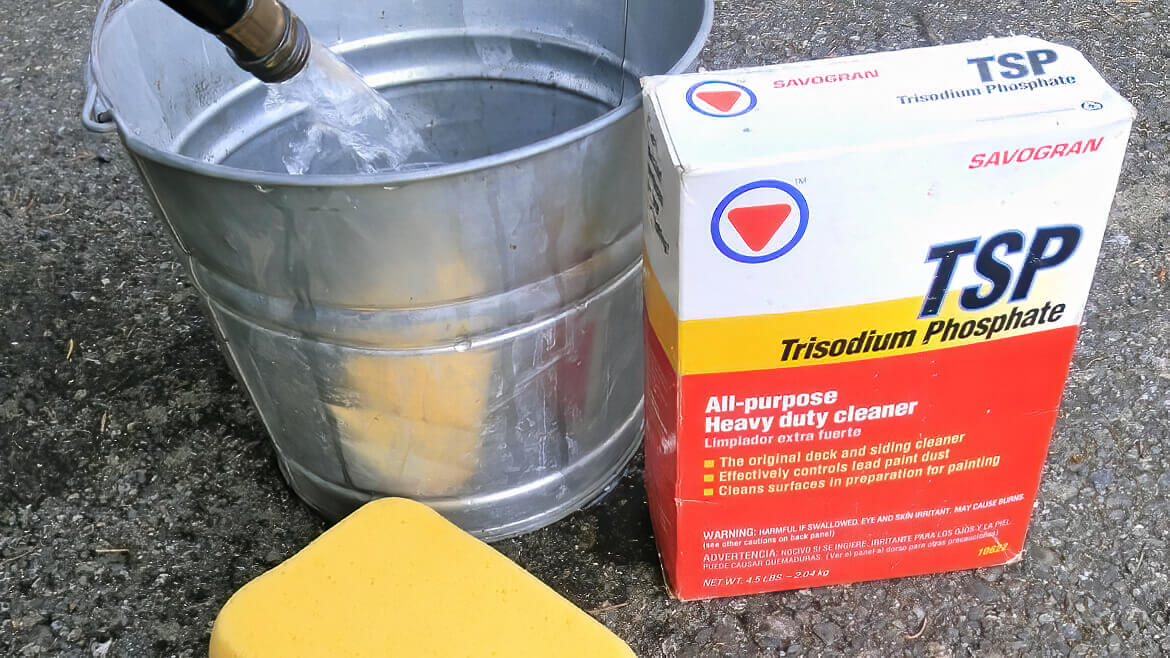
Alternatively, you may use a dishwashing detergent instead of a TSP solution. Remember that dishwashing detergent designed for machine washing differs from those designed for hand washing. We recommend using dishwashing detergent for machine washing.
After soaking for a minimum of 3 hours, remove the filters and rinse them thoroughly. This should remove any loose debris, oils and grime from the filters.
Step 5 — Clean The Filter Housing
While the filters are submerged in the TSP solution, use that time to clean the filter housing. Clean the housing inside using an ordinary garden hose and a brush to help you get to the hard-to-reach spots. You can also use the same tools to clean the clamp’s surface and the housing’s outer surface.
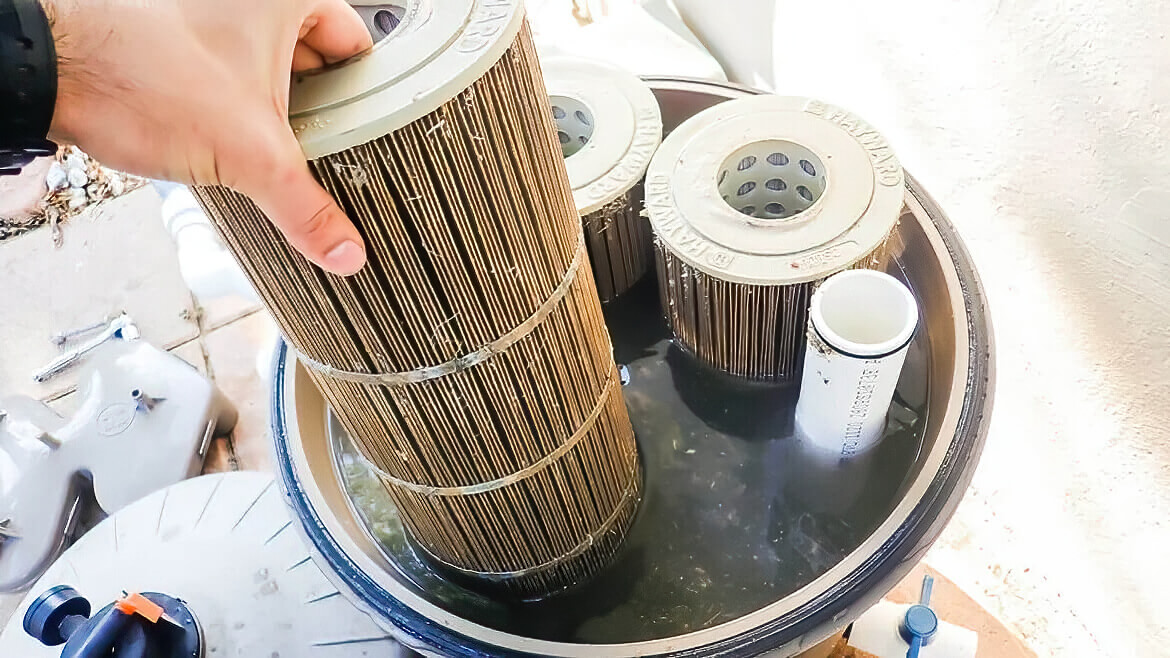
Once this is done, it is time to reassemble the housing. Fill the inside with water (to the brim) and allow the degreaser to act slowly. You may use a bamboo rod to mix the contents inside to ensure the degreaser is thoroughly mixed and dissolved.
Wait a few hours, drain the liquid, and seal the housing. You don’t need to place the filters in right away. This way, the pump can continue to circulate and keep the water chlorinated, even without the filters.
Step 6 — Give The Filters A Muriatic Acid
Filters often get coated with minerals, iron, calcium carbonate and algae. If you see this kind of coating on your filters, you need to give them a muriatic acid wash.
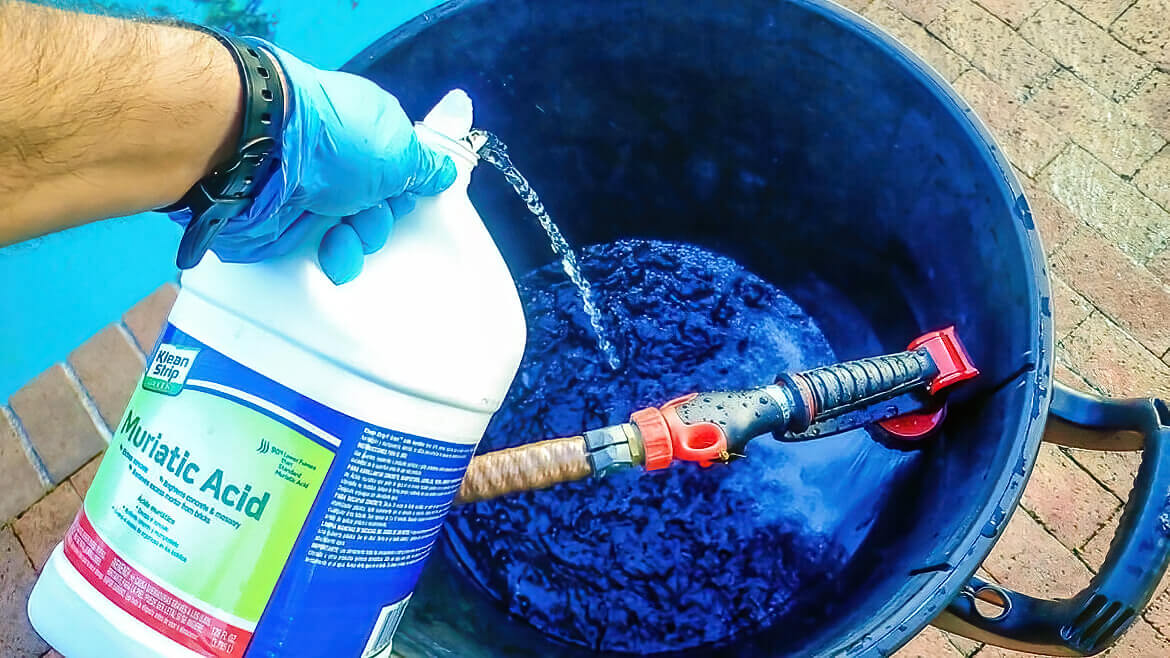
The most important thing to remember in this step is to ensure that your filters are entirely free of any oils, grime and cleaning solution.
Soaking the filters in muriatic acid (without rinsing off all signs of cleaning product or oils first) can permanently damage the filters. So, be extremely cautious about this step.
We recommend using one part muriatic acid per 20 parts of water. However, some people may recommend using a higher or lower ratio. You may use one gallon of acid and fill the rest of the plastic bucket with water (about 20 gallons of water).
Since you are working with acid, we highly recommend wearing safety goggles and gloves. If you accidentally spill or splash some acid on your clothes, rinse it off immediately to prevent any damage. Do the same in case of splashes on your skin.
Coming to the next part, we recommend soaking the filters in the acid overnight, or at least for a couple of hours. Once you remove them, rinse them off using generous amounts of water.
How To Safely Dispose Of The Water —To dispose of the acid water bath, use baking soda or ammonia to neutralize the solution. You may also use water to dilute the answer as much as possible before pouring it over a wet driveway or any other safe location. Do not pour this water into your lawn, as it will harm your grass and plants.
Step 7 — Spray The Filters Once More
Now comes the step that is the most virtually satisfying — rinsing the filters for the last time. Use your ordinary garden hose once again. If you have done all the previous steps correctly, no dirt or debris should be coming out from between the pleats now.
Step 8 — Reinstalling The Filters
It is almost time to reinstall the filters in the housing. Place them gently into the housing to ensure that they stay wet. Ensure that the bottom seal plate is in the correct position before installing the filters.
Step 9 — Clean & Lubricate The Seals
The first thing to do is to check the state of the seals. If they are only slightly worn out but reusable, go ahead. However, if they have tears or are damaged due to prolonged use, we recommend replacing the seals with new ones before continuing.
Clean the seals thoroughly and apply silicone paste to recondition them. This process will also help them seal more efficiently.
Now, apply a light lubricant on the seals to avoid leaks and prevent the periodic replacement of expensive gaskets. If you are not entirely comfortable with this process, you can call a professional who will clean and lubricate the seals.
Step 10 — Reassemble The Housing
It is now time to assemble the housing. Make sure that you put all the parts carefully in their appropriate place. Begin by installing the clamp, then lubricate the bolt threads and tighten the bolt as required.
Use a torque wrench to do this correctly. The recommended torque spec is 150 inches-lbs.
Step 11 — Clean & Refill The Pool
Once you have reassembled the housing and cleaned your filter, we recommend cleaning the pool as well. Get rid of any significant debris before you start the pump, as it will ensure you have a clean, safe pool to dive into the next time.
It is essential to take a pressure reading once you have filled the pool. However, it is best to get this done in a clean pool. While you’re at it, clean the skimmer baskets as well (if you have them).
When refilling the pool, ensure that you fill it only to the recommended level. You can use tools like a Pool Sentry that automatically shut off the water once your pool fills up enough. This is especially helpful if you are concerned about over-filling or under-filling the pool.
Step 12 — Take A Pressure Measurement
Now comes the last step — taking a pressure measurement. Before you begin, ensure that the filter housing has been purged of air completely. This will enable you to get an accurate reading.
Check the manual air relief valve to ensure that a steady stream of water is discharged. If you notice air or a mixture of water and air, the filter housing must purge more air. Pick the highest pump speed for the pressure measurement test if your pump offers variable speeds.
Take a note of the pressure. Ideally, it should reduce by 8 to 10 PSI. Make sure that you note this number, as you should periodically check the pressure measurement. If the pressure increases by 8 to 10 PSI, it is time for another cleaning session.
Cleaning Tips You Need To Know
a) Do Not Use A Pressure Washer
Many pool owners are susceptible to this mistake; however, keep in mind that it could permanently damage your pool filter. We recommend never using a pressure washer to clean the filters, as the sheer force is enough to wear out the filter materials.
Furthermore, the force of a pressure washer can cause tiny breaks or cracks in the filter. This will eventually limit its usability, causing you to purchase a new filter before the recommended period of 3 to 5 years.
As you can imagine, this will cost you more money than merely purchasing good pool cleaning products.
b) Do Not Try To Bring Back Its Colour
Let’s be honest: your pool filter will not return to looking white and pristine after a couple of uses. No matter how well you clean the filter, you cannot bring back its original colour, so it is best to stop trying.
As long as you clean the filter thoroughly, it should be usable and free of dirt and contaminants. Don’t worry about the colour — it hardly makes a difference to the product’s usability.
c) Annual Soaking
Once a year, we recommend soaking the pool filter cartridges in a good cleaning solution. You will find these readily available at local stores. Doing this once a year will remove any trapped and clogged debris, crud, and stubborn, tough buildup. It will also increase the filter’s life, saving you from early and expensive replacements or repairs.
d) Vacuum The Pool Regularly
This might sound counterproductive, but to maintain a healthy pool filter, you should ideally vacuum your pool regularly. Use some tool, strainer or vacuum to pick up dead leaves, twigs, bugs, and other larger debris from the pool. This puts less strain on the pool filter to do the same job.
Quickly removing any biological matter from the pool’s surface will also ensure that you use fewer chemicals to clean the pool.
e) Don’t Overclean The Filter
Again, this may sound counterintuitive, but it’s true! Overcleaning the pool filters can hinder the process of trapping debris and contaminants. It has been observed that pool filters with small amounts of dirt or debris do a better job of trapping more debris than completely clean pool filters.
f) Keep The Right Water Level
Regular use of the pool will cause the water levels to change invariably. However, make sure to check the water level every time you use a skimmer or vacuum to clean the pool. You can also use tools (like Aqua Level) that help maintain the optimal water level without constant checking or intervention on your part.
Frequently Asked Questions
When Should You Replace The Pool Filter?
Even after thoroughly cleaning your pool filter, you may notice that it records a pressure measurement of the initial pressure + (approximately) 6 PSI. So, if your filters initially had a measurement of 10 PSI, and after cleaning, they showed a measurement of 16 PSI, it is clear that you need to replace the filter.
Of course, you can wait till the next cleaning session to change them finally. Once you have cleaned the filters, you may use them till the pressure records 8 to 10 PSI more than the initial PSI.
That being said, replacing your pool filters once every 3 to 5 years is recommended.
The filters endure high wear and tear during this time and will not work optimally.
What Does It Mean To Record A High PSI?
PSI refers to pound-force per square inch. In other words, the higher the PSI measurement, the lower the pump volume of water can move out. This is also because a higher PSI means that the pump has to work much harder to push out the same volume of water.
Moreover, this also explains why your pressure gauge reads a higher number after being used for a while. With continual use, debris, trapped dirt, oils, grime, bugs, leaves and other contaminants clog the filters, making them work harder to pump water.
Over time, the filters get excessively clogged or damaged. When this occurs, you need to replace or repair the filters. In some cases, you can go for almost two years without cleaning the pool filters. However, it is not recommended to wait for this long before cleaning.
Can You Use Other Commercial Cleaning Products?
Well, there’s no harm in using them. However, most commercial cleaning products contain varying amounts of acid and other unnecessary additives and fillers. In most cases, TSP should work perfectly with most pool filters. Moreover, the product is safe to use and can be found conveniently at most stores.
Do You Need Additional Tools For Cleaning Pool Filters?
Generally, you won’t need tools other than those we’ve mentioned for cleaning your pool filter. Of course, if you already own pool filter cartridge cleaning tools, you might as well use them for this process.
That being said, we don’t think you need to purchase additional tools for cleaning it necessarily. The products we mentioned in this guide are adequate for cleaning any pool filter cartridge.
What About Cleaning Sand Filters & D.E Filters?
Sand Filters
Sand filters are the most affordable type of pool filter you can use. However, they are not the most effective, as they cannot trap the smallest particles of dirt and dust without the help of pool filter aids.
For this process, you will need a backwash hose and any sand filter cleaning product. This is a relatively easy and less time-consuming process compared to cleaning filter cartridges.
Check the pressure gauge — if it records a PSI of 8 to 10 PSI over the initial reading, it’s time to clean the sand filter. Do this by using a backwashing hose and then adding a sand filter cleaning solution to the skimmer.
D.E Filters
It would be best if you had a backwash hose, garden hose and D.E filter cleaner for this process. You will also require lubricant, D.E. powder, D.E. filter cleaner, safety gloves, mask and goggles. The method of cleaning a D.E filter is very similar to that of cleaning filter cartridges.
We recommend cleaning D.E filters at least twice a year to be safe. However, you should periodically check the pressure gauge to see when the pool filter requires cleaning.
How Do You Choose The Right Pool Filter?
As you know, there are three types of pool filters to choose from — cartridge filter, D.E filter and sand filter. Depending on how frequently your pool is used, environmental factors (if there is a lot of dust, pollution, leaves and twigs), and the size of your pool, you can choose between the different filters.
In general, sand filters are the most affordable option and the least effective. D.E filters are the most effective in trapping the tiniest particles of dirt and dust; however, they are also the most expensive option.
A cartridge pool filter comes mid-way — they are affordable and do an excellent job keeping your pool clean for long periods of use.
Conclusion
With that, we have finally reached the end of our comprehensive guide.
We hope you understand your pool filter needs better now and can also gauge when the right time for cleaning comes.
Generally, we recommend cleaning any pool filter you own at once every six months at least. However, if your pool doesn’t get used much, you could probably get away with not cleaning the filter for a year or so.
It is also essential to replace the filter when it is necessary. A dirty, damaged pool filter can harm your pool and those using it by carrying germs and contaminants.
Long story short, it is always better to be safe regarding pools and filters.
Take care, until next time!
